::LESSONS:: |
::ABOUT::Becoming familiar with Maya is a website about my first steps with Maya 2008. Finally, after two years of fruitless attempts, I got a seat at the Maya Introduction Lecture, organized by the Vienna University of Technology (TU Wien). The complete lecture will be hold in 8 units, that lasts 18 hours in total, and will cover the main functionality of Maya like Modeling, Animation, Texturing and more. At this site you can view and download my hopefully improving work after each unit. The examples are all done on a Powerbook G4 12' with 1.33Ghz, 768MB RAM and a 64MB VRAM NVidia GForce 5200. Enjoy, Clemens Mautner Markhof |
::TIPS & TRICKS::
|
::LESSON 7 & 8 - RENDERING AND SCRIPTING:: |
||

|
|
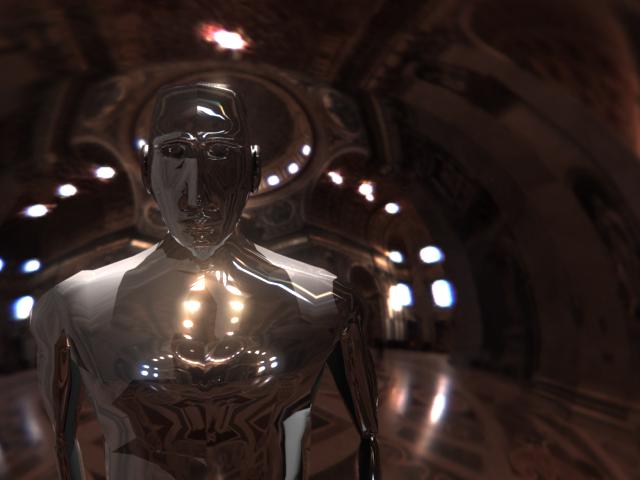
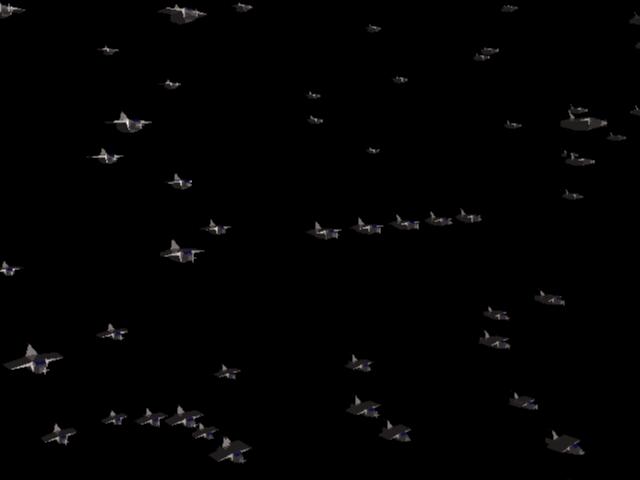
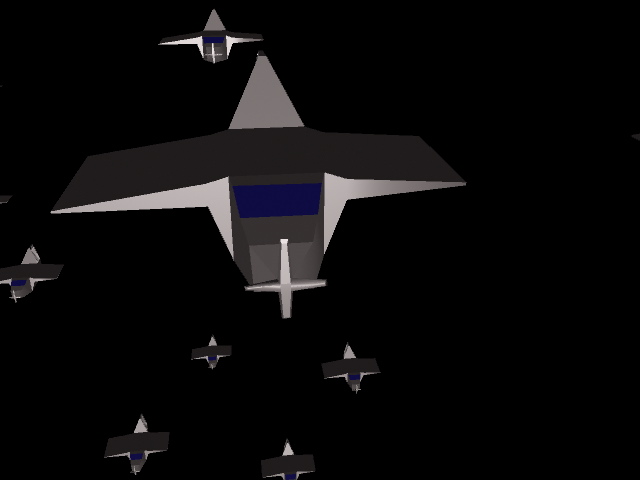
In the last two units we messed around with render settings and scripting. The last two pictures show my airplane that was created for the final 15 minutes modeling-texturing-rigging competition. The duplicates were randomly placed with MEL, the Maya embedded scripting language, afterwards. The other pictures show different light and render settings. You can also compare a scene rendered with HDR and one without. It's a huge difference. The first picture once again was rendered in high quality with shadows and global illumination on.
I'm done. 8 close-packed Maya lessons have been completed. Nevertheless my work just scratches the surface of Maya's possibilities. Thanks to our tutor Markus Weilguny for this amazing course and I hope there will be an advanced one someday ;-) |
::LESSON 6 - WALK CYCLE:: |
||
|
|
Once rigged, our second last exercise was to create a continuous walk cycle. Once again I have done only a quick and dirty version, nevertheless I have tried to make the movie clips entertaining. The YouTube quality of the second one is just a bad joke, so you better download the movies in high quality and full PAL resolution.
Time spent: appr. 30 minutes |
|
::LESSON 5 - RIGGING:: |
||
|
|
|
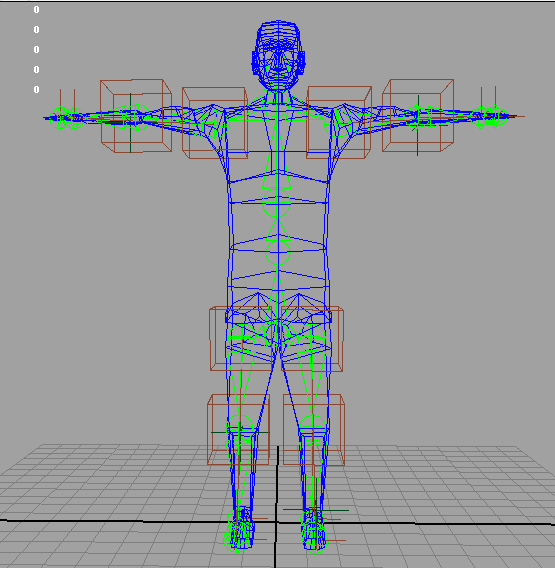
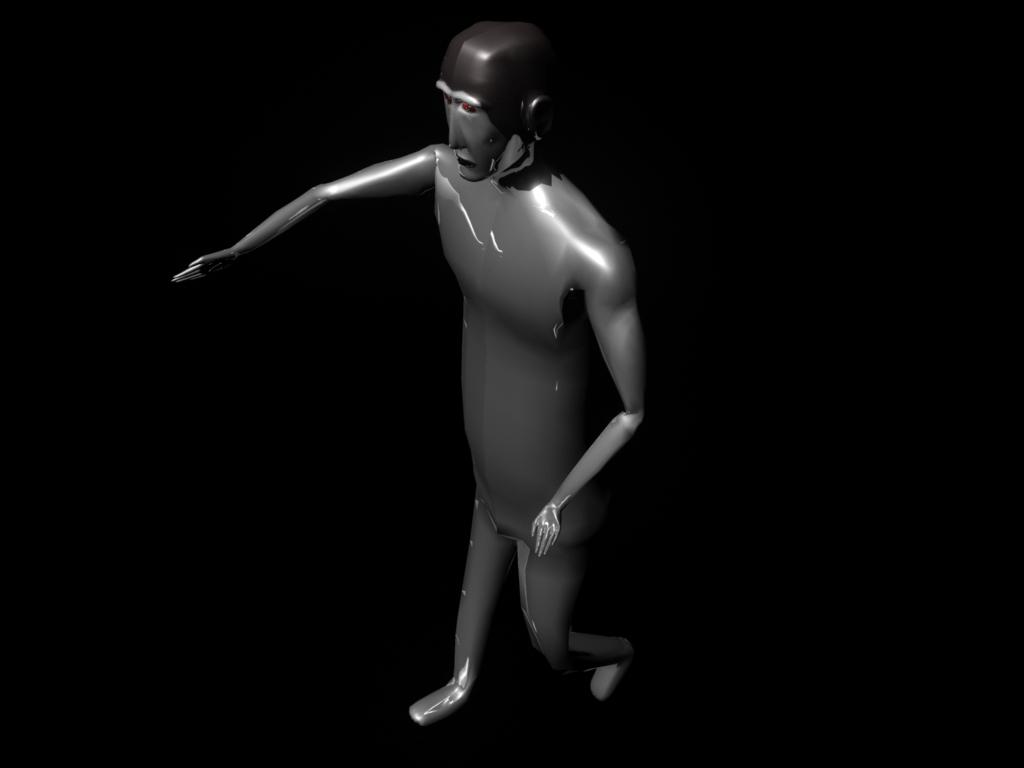
Once texturing was finished we continued with rigging, which means we add a skeleton to our character. Once you have added some bones you can bind to your character and easily move his arms, legs or whatever you want. Due time constrainst I have done only a very basic version.
|
::LESSON 4 - TEXTURING:: |
||
|
|
|
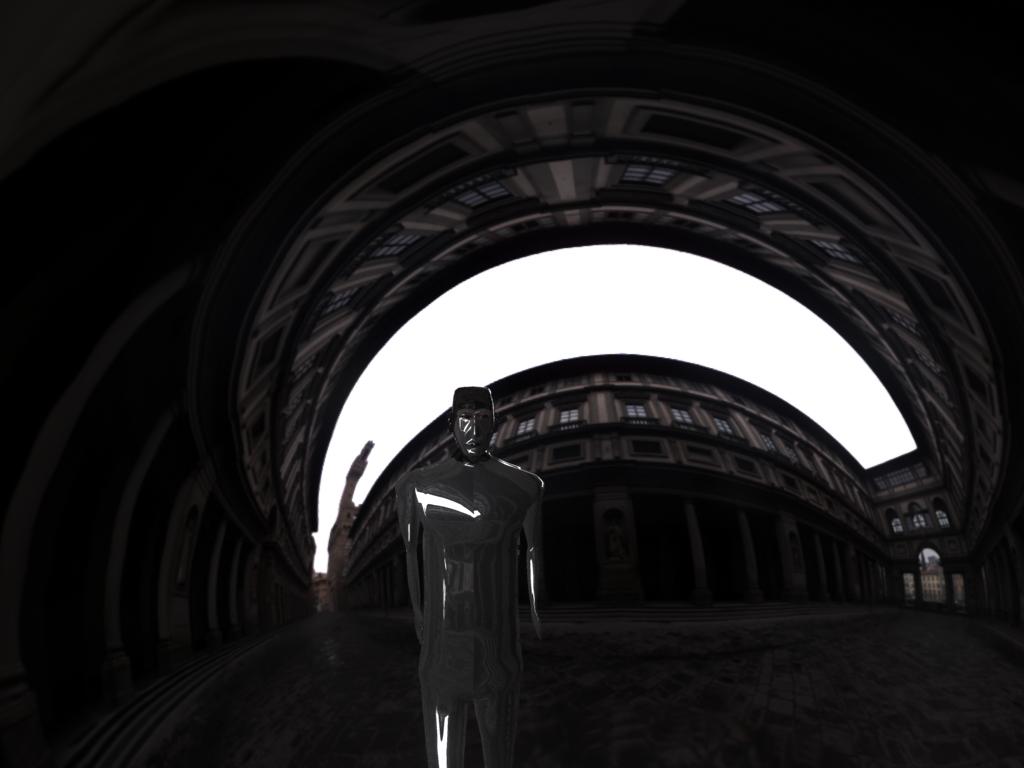
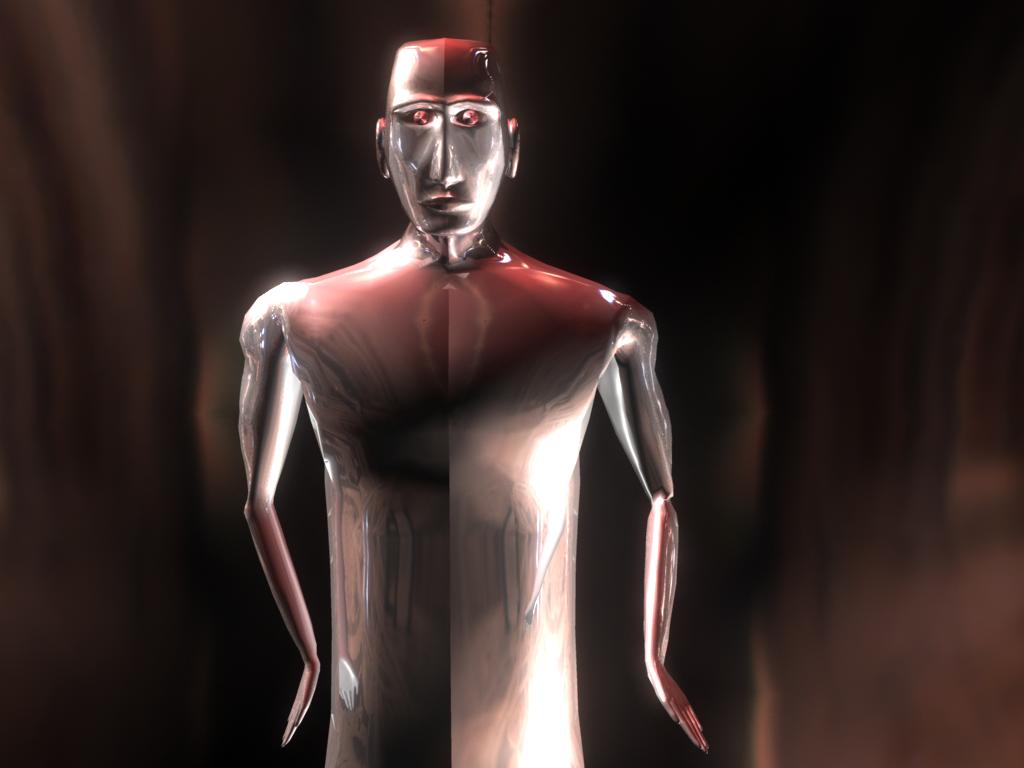
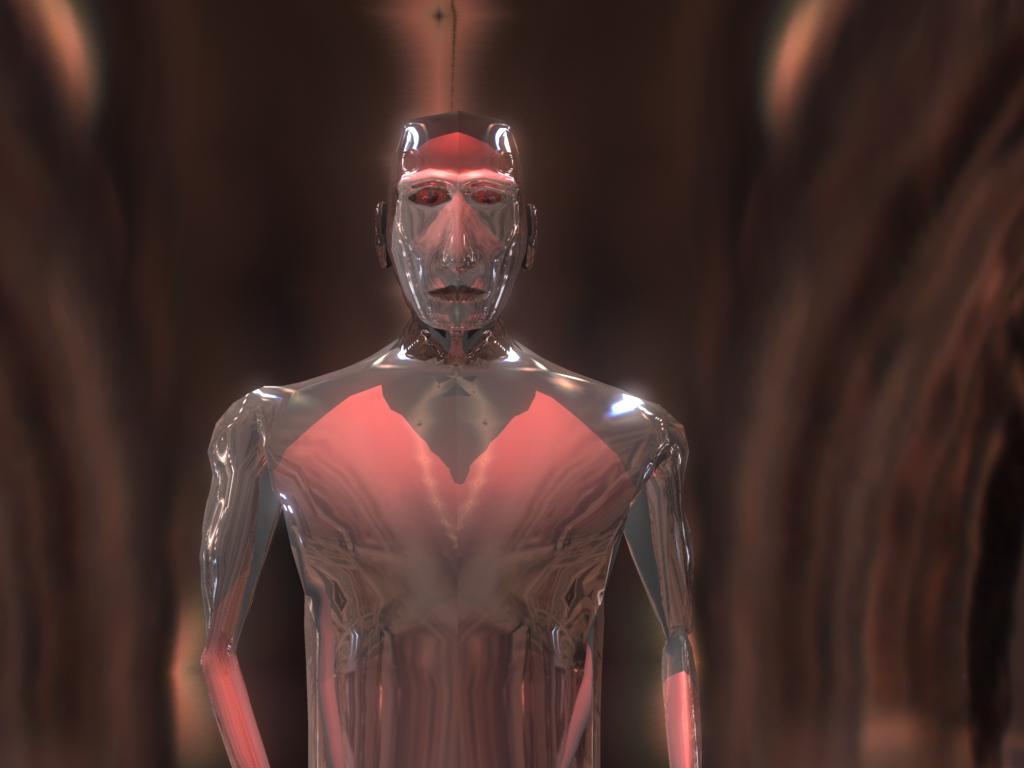
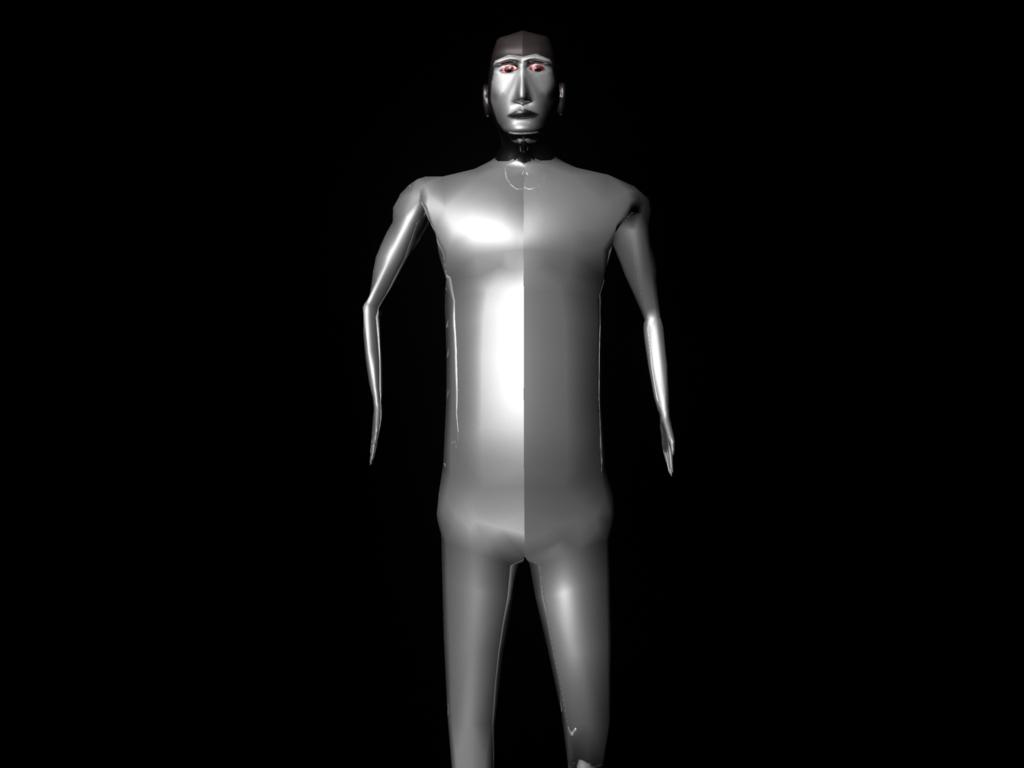
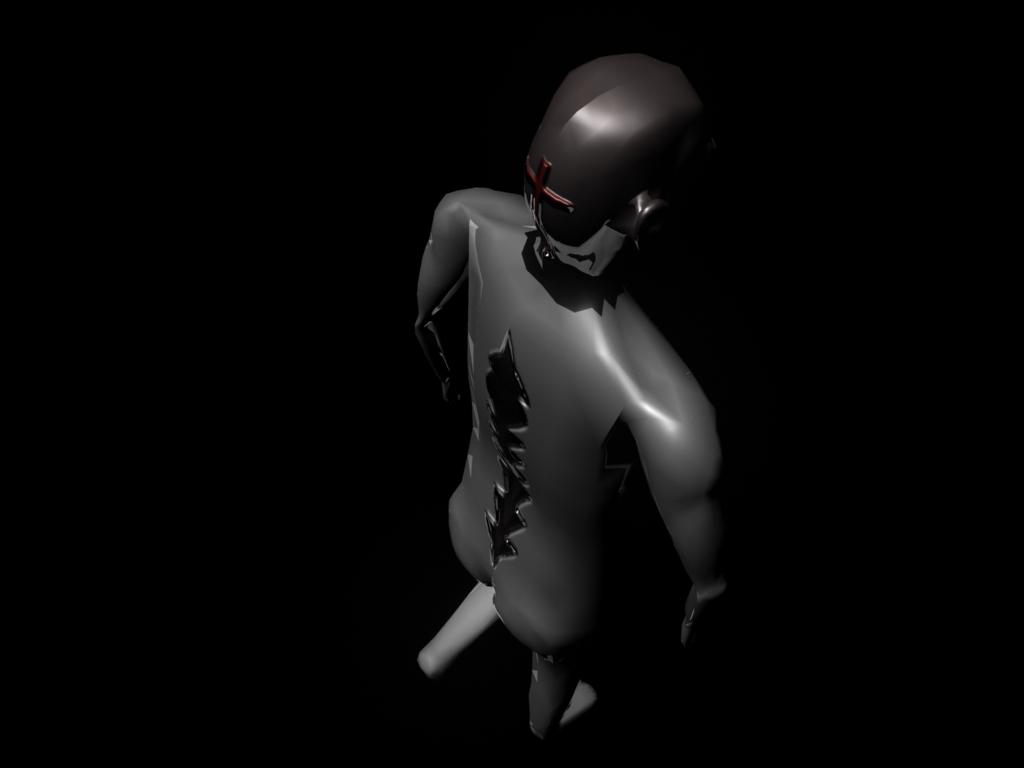
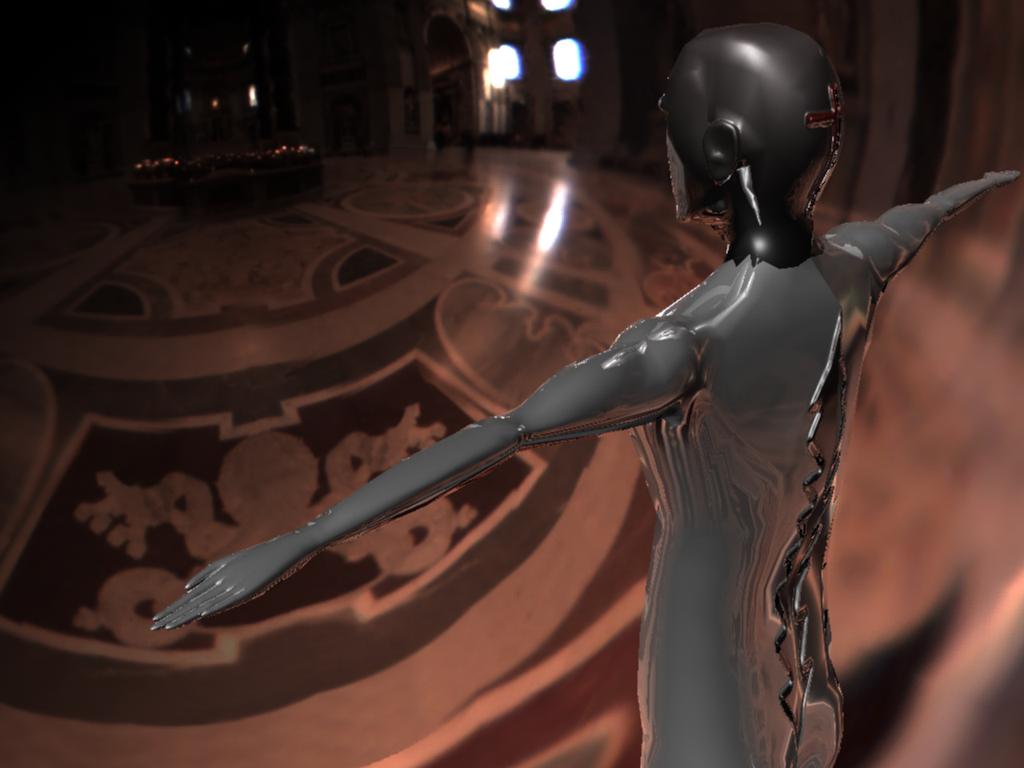
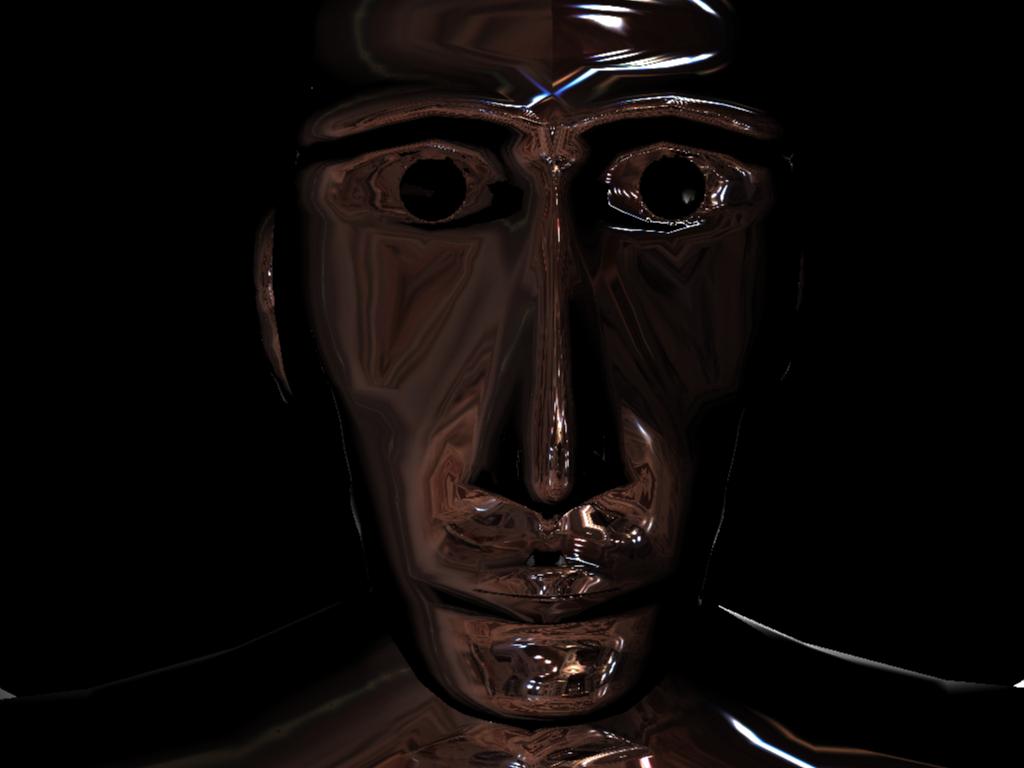
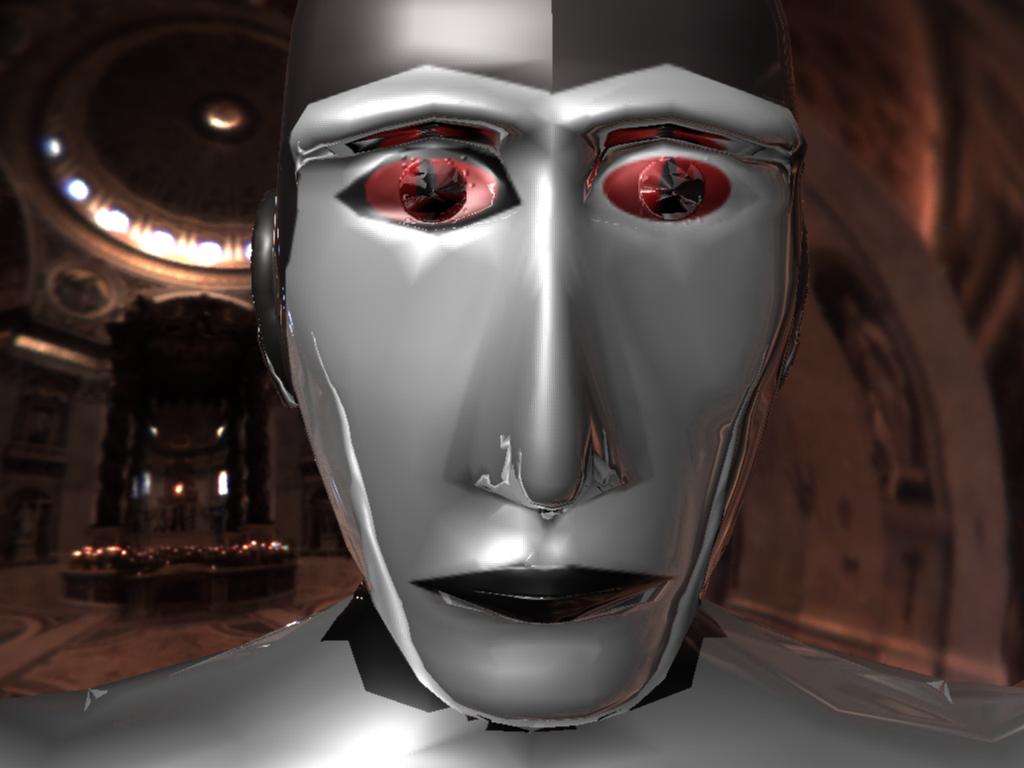
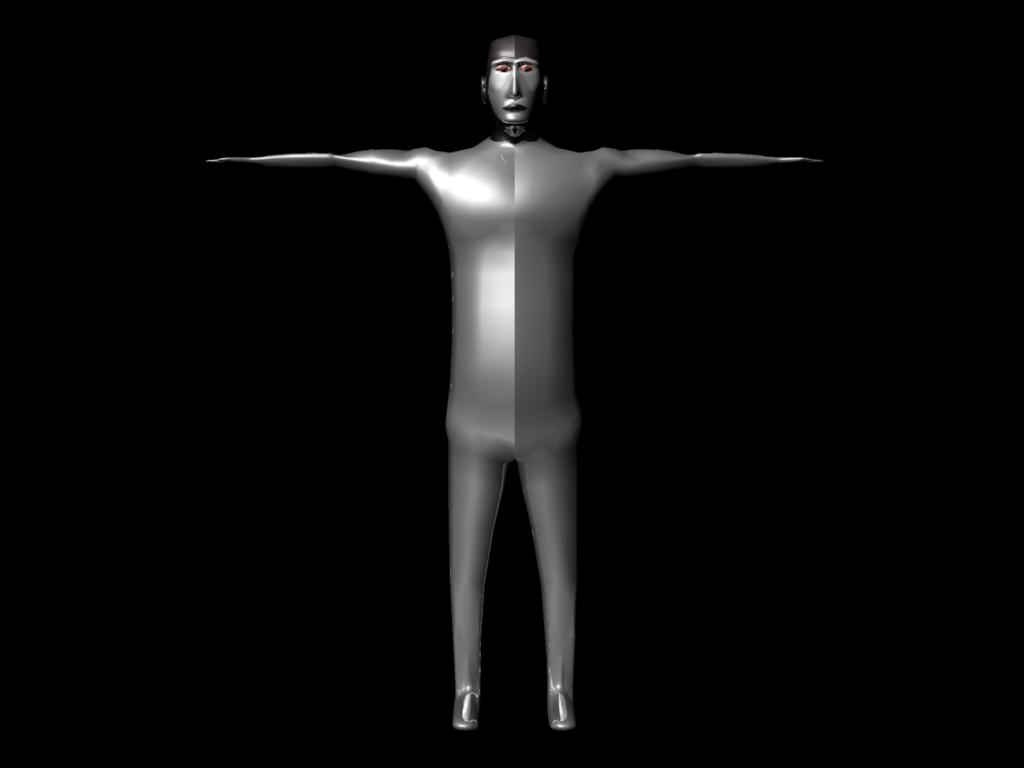
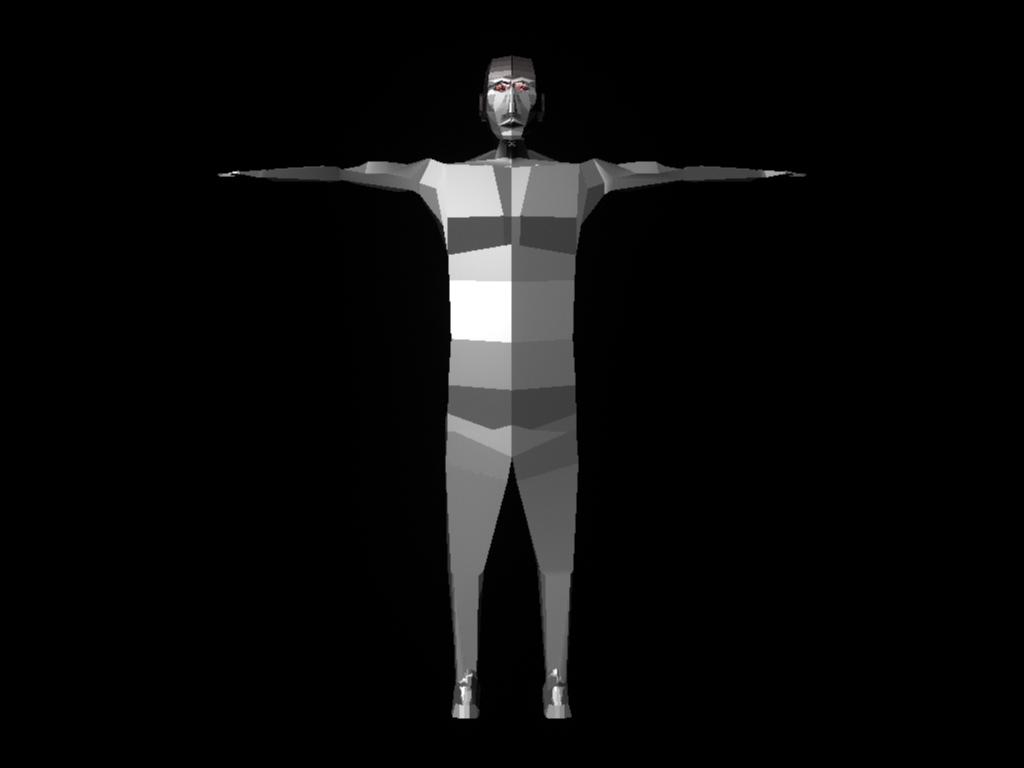
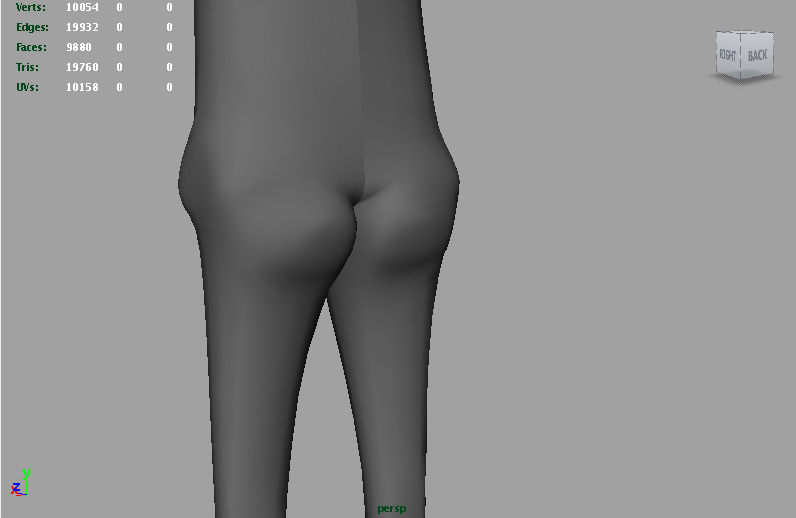
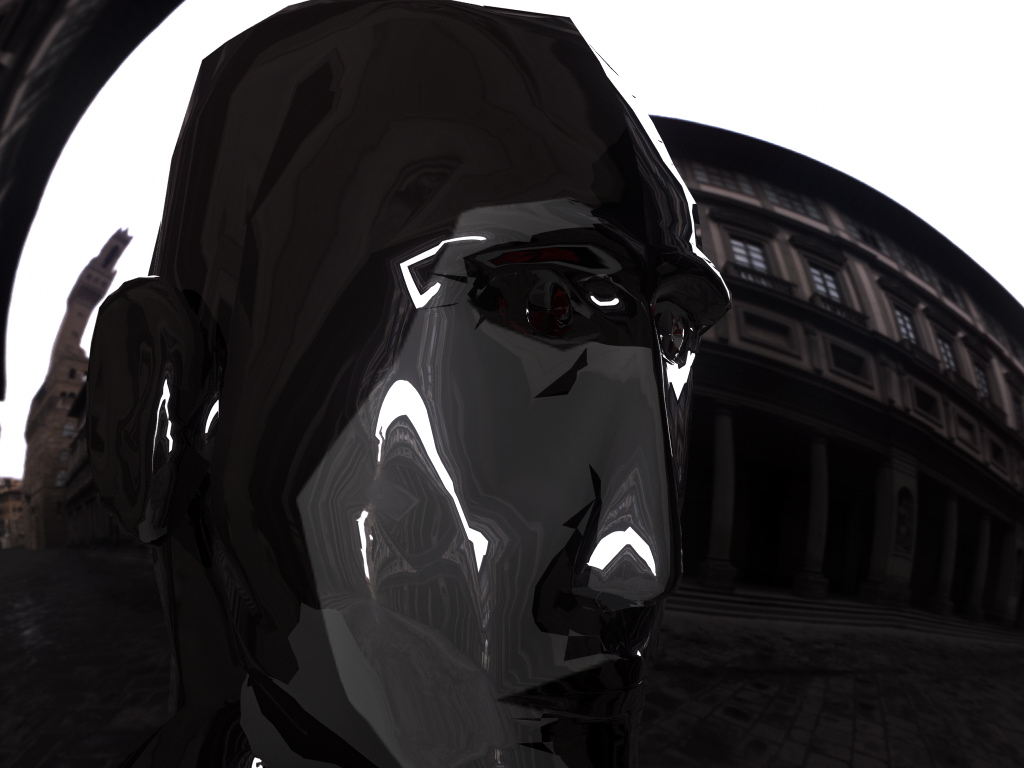
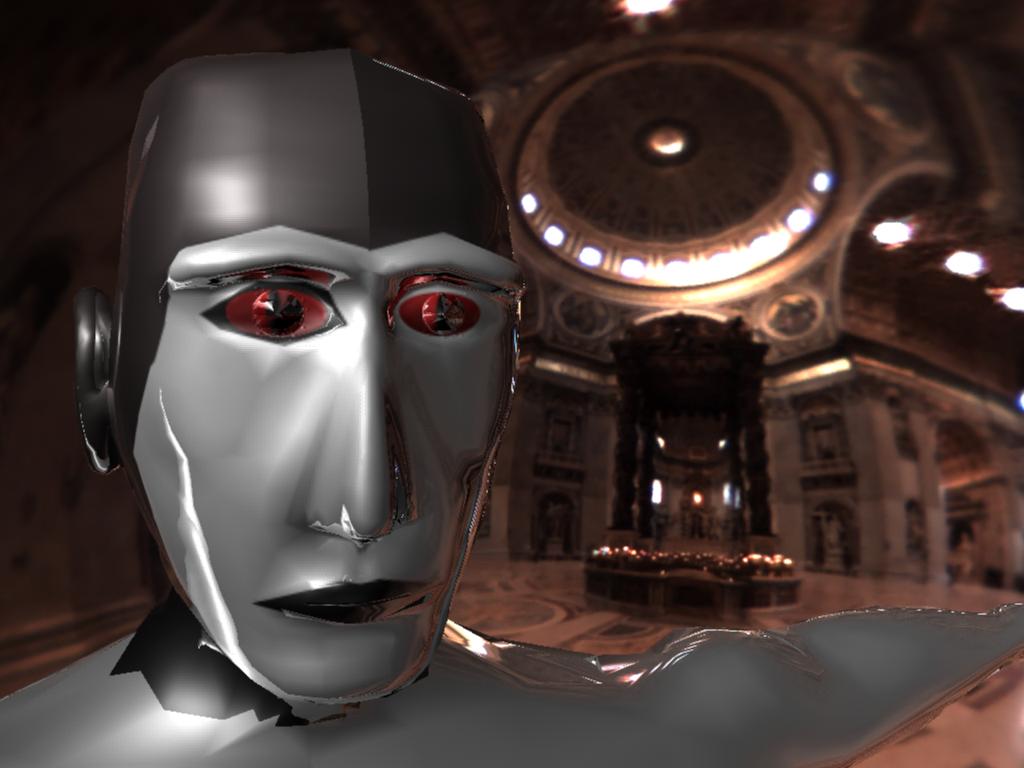
The fourth unit was all about texturing. For this exercise I first finished my low poly character from lesson 3. The character has now app. 1050 vertices. If I use the polygon | smooth tool the smoothed character has around 3600 vertices. As you can see this option is much better than the shading conversion I did in lesson 3.
The character is still just one single cube where I extruded the faces a few times. The Scene was rendered with HDR lighting and used the mental ray renderer. The eyes, the backbone and the red cross are using a bump mapping texture and aren't geometry. All but one picture are rendered with preview quality. Production fine trace settings needed 10 times longer to render. A 1024*768 picture rendered 7 minutes compared to 40 seconds with preview quality settings. Total time spent on texturing: 10 hours, mainly because I first tried to recreate a human, until I realized that would take forever. Once I had my idea, texturing and rendering was done in 1 1/2 hours. |
::LESSON 3 - LOW POLY CHARACTER:: |
||
|
|

|
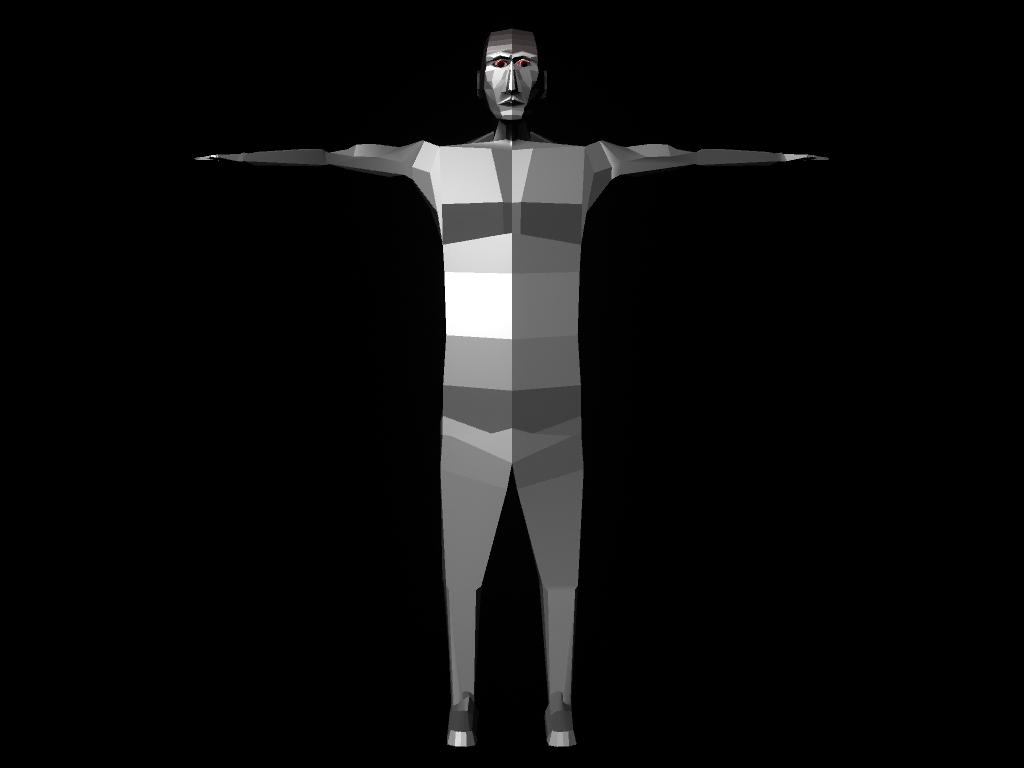
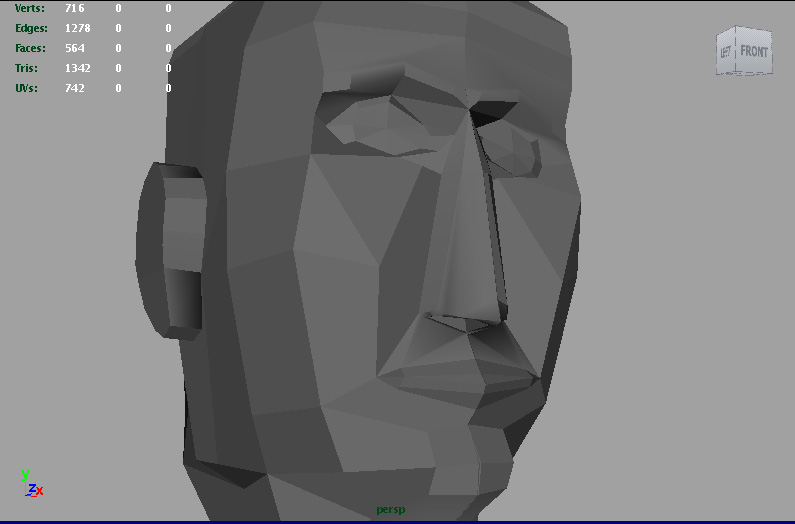
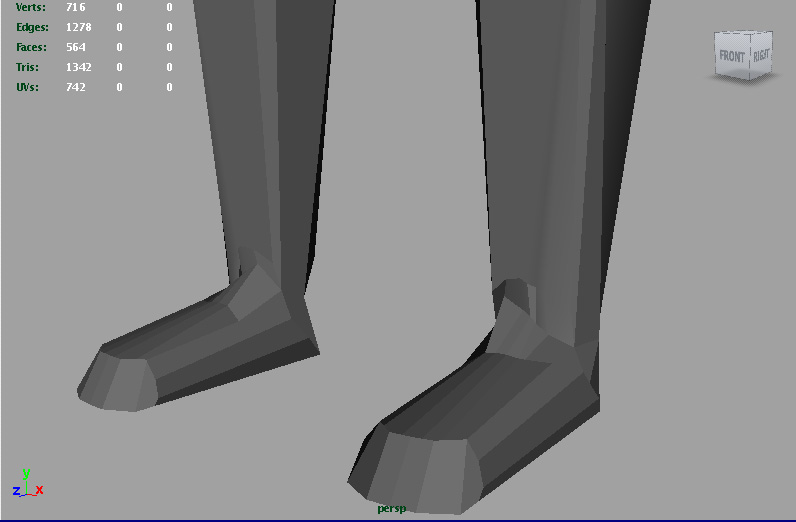
First during this exercise my graphic card went to heaven and from now on I'm using my powerbook without graphic card drivers in normal mode or just safe mode until I have time and money to repair it myself(I'm looking for a cheap logic board on ebay). However lesson 3 was all about low poly characters often used by 3D games. Our exercise was to create our very own character. You can see my results on the left. The character was built from a single mirrored cube. I just extruded the cube's faces over and over again and moved vertices, edges and faces. The basic shape was done in about 2 hours.(Notice how I get faster ;-)) and I spent another 3 hours on details. It's still far away from being perfect and I still could spend hours on details. Last but not least I didn't use any sketches for this character. I strongly recommend to use a layer in front and side view with a sketch graphic of your character to
keep the right proportions. Well I didn't have time for that so I just started with an idea. The character's left and right side wasn't merged for the screenshot so you can see clearly where I splitted the original cube. The character has appr. 700 vertices. For comparison a typical Quake 2 model used about 600 vertices and the mosquito from my game Mosquito Ops, which was created in Misfit 3D, had appr. 4500 vertices.
The character was created out of a single cube. Rendering time is practically none. If I convert the character's soft shading to polygons it has about 70000 vertices right now. |
::LESSON 2 - FIRST ANIMATIONS:: |
||
|
|
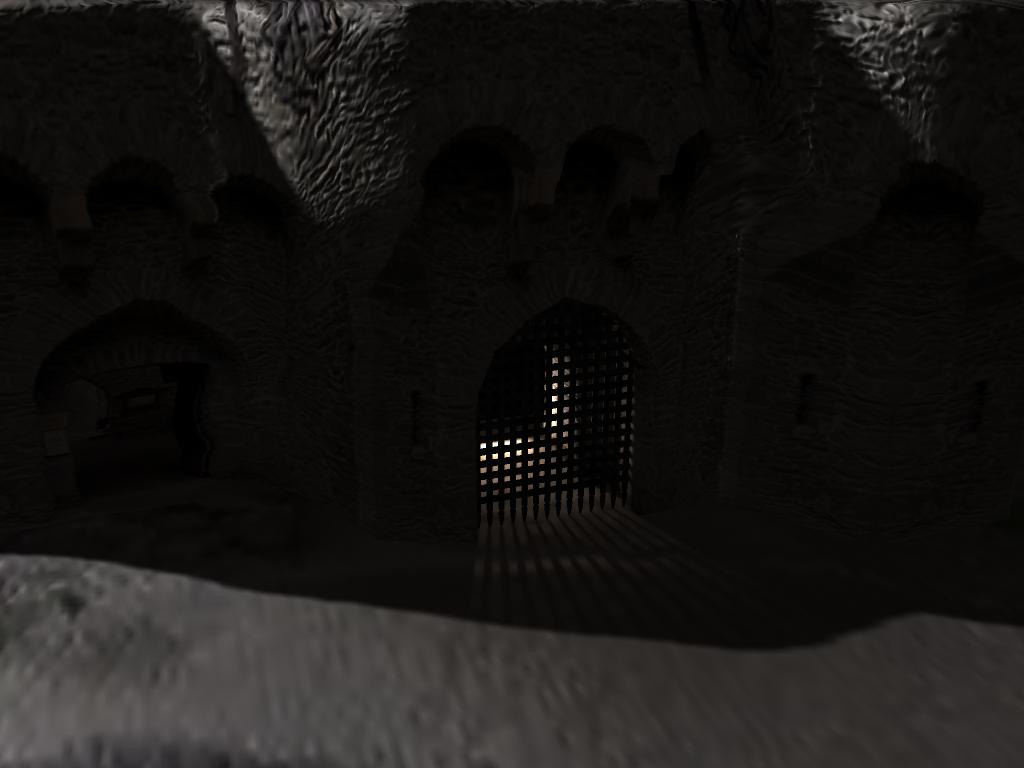
In the second lesson I learned about Maya's key animation functions and built a simple airplane that was flying along a defined spline curve. As our homework we
had to animate a given castle scene. You can see and watch my results on the left. I animated a day-night cycle with a suprising end. Watch yourself.
The scene uses keyframe animation, texturing with bump mapping, and the geometry sculpture tool was used a few times. Due the limited Maya sound capabilities, which allows you to only play one sound file, I have done the sound editing in iMovie HD(Final Cut Pro 3 crashed all the time while Maya rendered the final scene). Total time spent appr. 10 hours - Animation itself was done in a few minutes, but tracking the geometry changes and sound editing took a while beside rendering. Now I would approximately need 10 - 20 minutes without rendering. Rendering 8 seconds movie 768*576: a few hours... |
|
::LESSON 1:: |
||
|
|
|
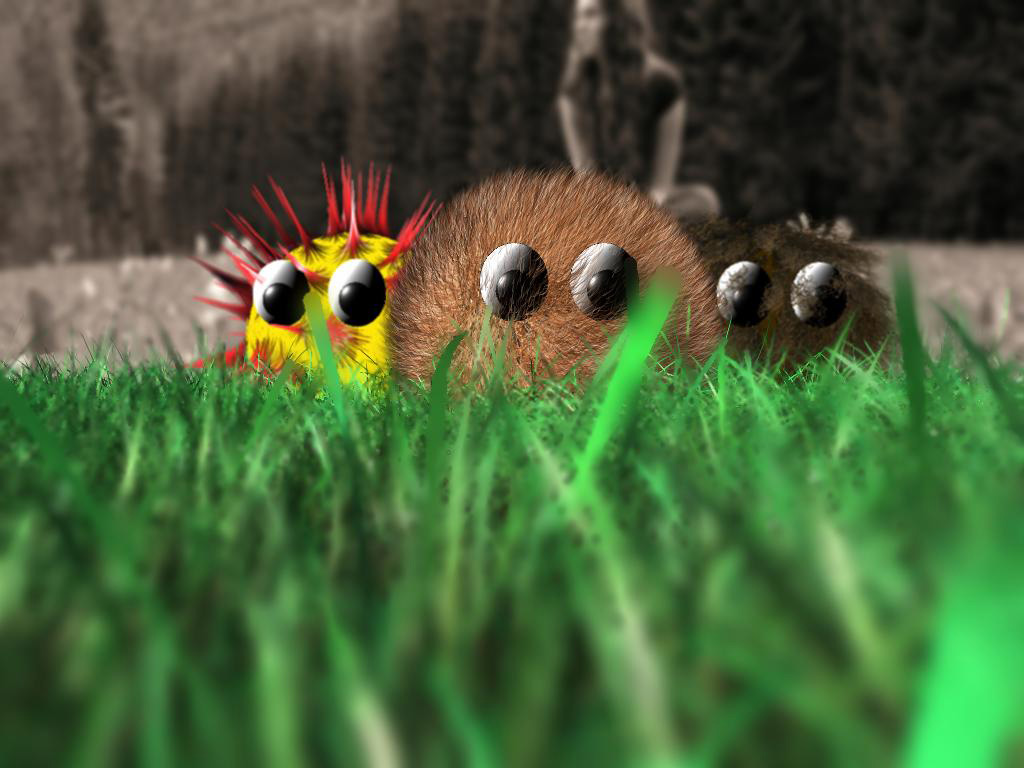
In the first lesson we got a basic overview about Maya's functionality and already started building a scene with cows and a fence. As our first exercise we
had to play around with Maya and build whatever we like. You can see my results on the left. Its a scene of hairy monsters sitting in the grass looking for some actions.
The scene uses an image layer as background, the fur and 3D paint presets, and as postscene effect I have used a depth of field effect. Total time spent appr. 8 hours. Rendering time 1024*768: 2:20minutes. |